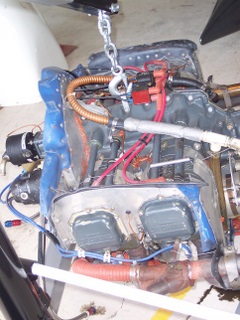
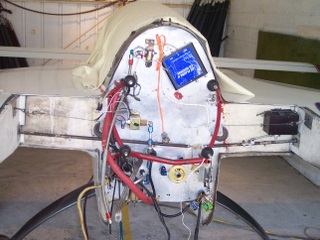
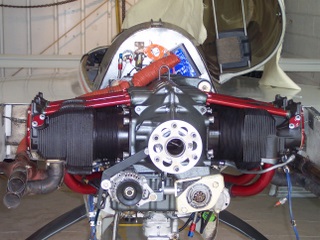
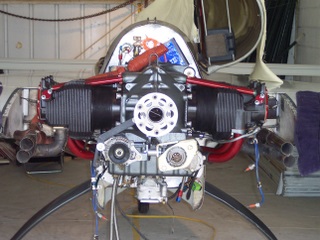
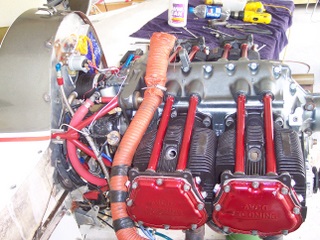
On the left you can see the old (less than 500 hrs since complete overhaul) Lycoming 0-290-D2 135 hp engine being removed. Then you can see the fire wall with everything hanging. The picture on the right is the new 0320 B1A secured to the conical engine mount.
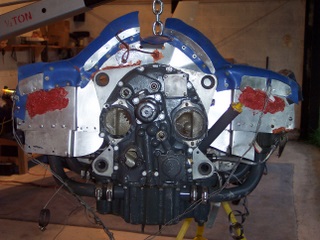
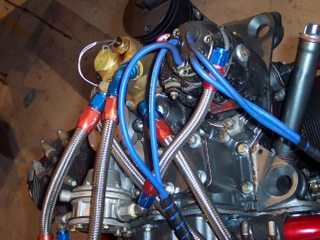
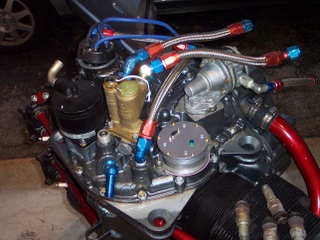
Above you can see the old engine stripped of all the tubes hoses and accessories that mount to the gear case. Everything had to be bolted onto the new engine and correctly positioned to fit in the cramped space between the fire-wall and the gear case, plus I had to re-time of both the magneto and electronic ignition pic-up sensor. Always a pain getting them in-sync.
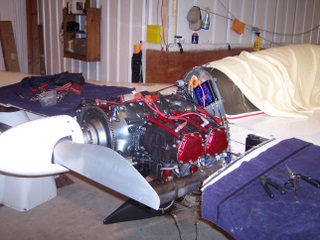
New engine is bolted into position and most of the tubes, hoses, wires, and linkages have been connected. It may not look like it but it took 12 hours just getting the two engines swapped out and connected up. No air tools allowed. Everything was by hand wrench and written in the log book part by part.
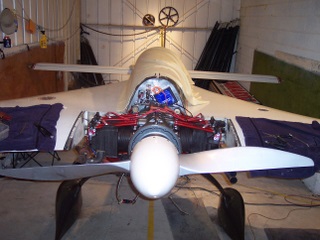
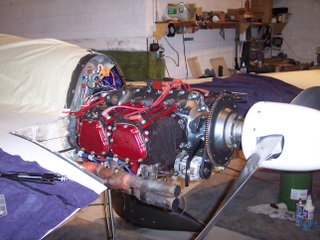
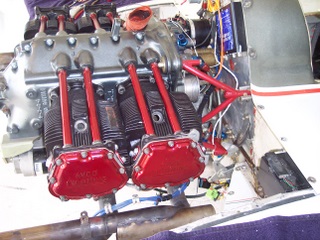
The engine is in and running but she wont see the air for another 7 months. This was just the start of the make-over. Believe it or not the engine was the easy part. Lots of fabricating was needed for the ram air intake components, exhaust, downdraft cooling and oil cooler installation. There is about 120 hours wrapped up in getting the engine and all accessories fit and functioning correctly. This was due to the engine being wider and heavier. Just not a lot of room to work when your trying to streamline things. The goal was to get an additional 30 + knots of speed out of the bird and have a cooler running engine.
Rutan
Long-EZ, Aviation lists, 1970s, 1976, 1979, 1997, Air brake (aircraft),
Aircraft, Aviation, Aviator, Berkut 360. Lycoming 0320 B1A
Phil Camarda's Long-EZ Engine swap-out Page with Photos
P2 engine Install P3 Upper Cowl P4 Lower Cowl P5 SPL Parts P6 Flt Pics P7 More Pics P8 Bio Info
