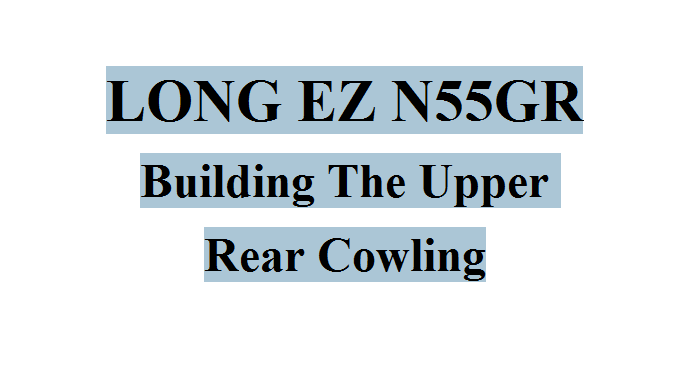
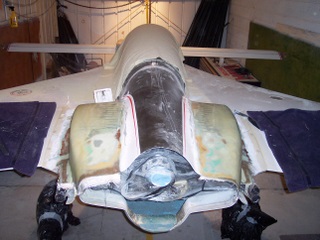
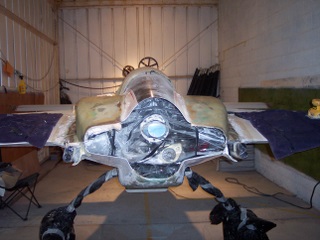
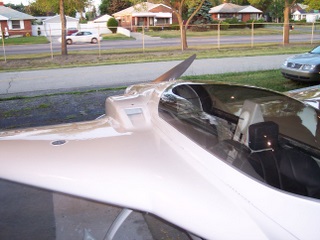
The first thing I had to do was cut areas out for the 4 pipe exhaust and the wider angle valve cylinders just to get the cowl on the engine. You can see the valve covers through the holes on each side of the cowling.
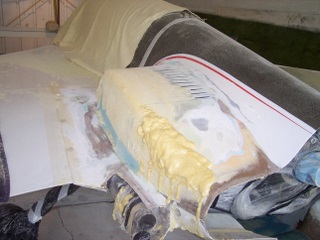
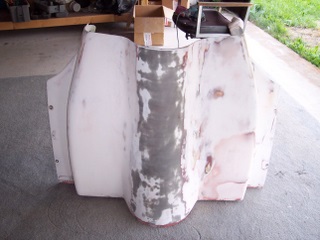
Foam was added to the cut out areas to build up the cowling. The foam was shaped and sanded to the contour that I was happy with. Then several layers (4 to 5) of fiberglass was epoxy'ed over the foam.
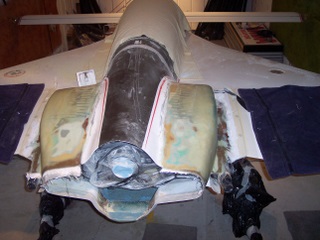
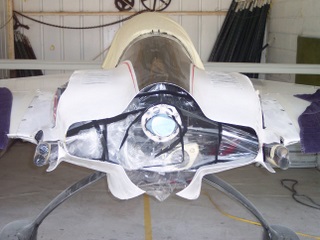
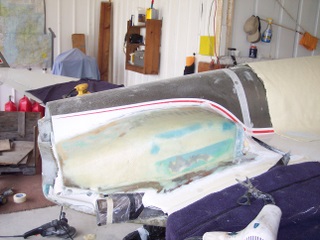
As you can see both sides get covered in fiberglass to preserve the shape.
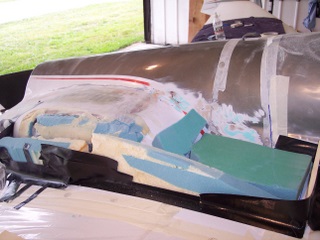
Additional foam was needed to design the downdraft cooling inlets. Same work concept was used to shape and sand the inlets. they were covered in fiberglass and epoxy'ed over when finished.
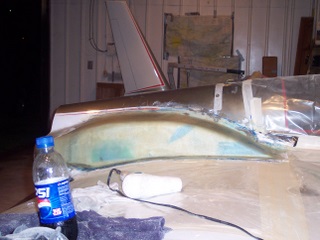
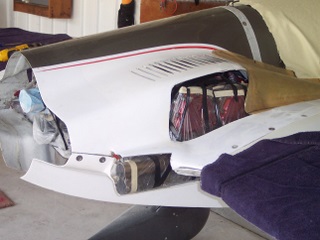
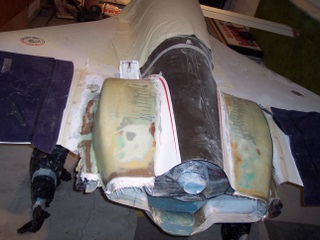
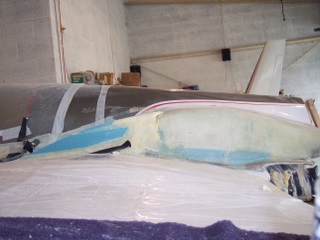
The first / original design covered in glass. This was later changed to an even steeper angle for better aerodynamics over the rear cowling and back to the prop. I wanted to make sure that the air being fed into the prop was a clean undisturbed flow.
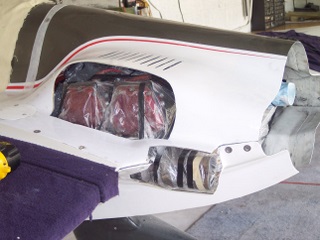
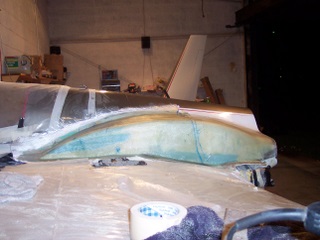
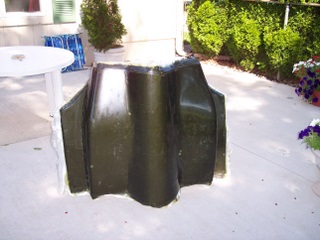
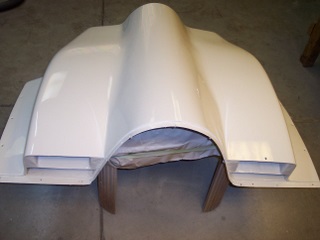
Finished downdraft inlet scoops for upper cowling

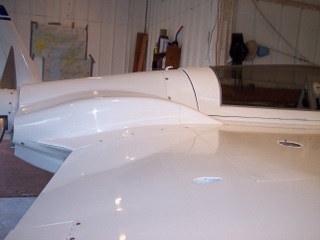
The inlet scoops feed ducts to plenum that covers the top of the engine
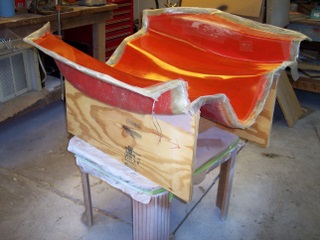
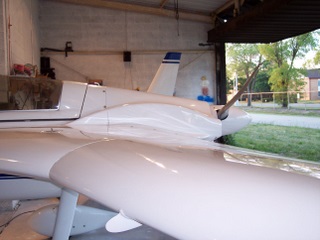
Above you can see the finished upper cowling in primer. On the right was the mold that was made from the cowling on the left.
Cowl on left was made from the orange mold above. It is a carbon fiber cowling that weighs 5.6 lbs. The original cowling weighed almost 15 lbs. The new carbon fiber is stronger and lighter. Cowling on right is the finished painted aircraft cowling You can see the ducts that carry the ram air from the downdraft inlet scoops to the engines upper plenum.
Online guide to Long EZ
experimental aircraft Building the upper cowling on a Long EZ with Pictures
experimental aircraft, Long EZ airplanes, homebuilt aircraft, Long EZ aircraft,
kitplanes, aviation, downdraft cooling inlets
P2 engine Install P3 Upper Cowl P4 Lower Cowl P5 SPL Parts P6 Flt Pics P7 More Pics P8 Bio Info
P9 Engine TBO P10 Tips & Tricks P11 Your uploads HOME PAGE