Return to Tips & Tricks Veri EZ Rebuild
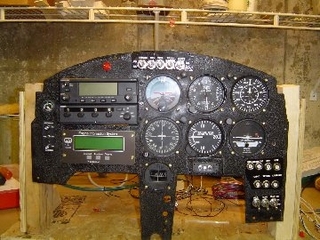
Panel construction completed on fixture prior to mounting in airplane. Work the bugs out before troubleshooting in the aircraft.
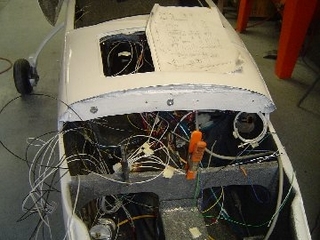
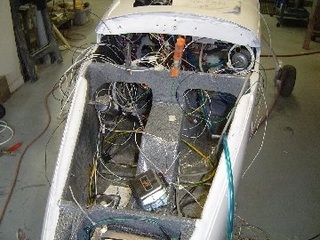
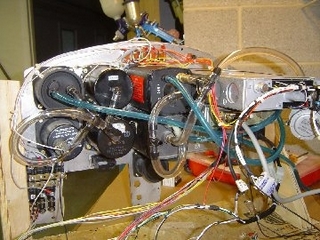
The fun part is gathering up all those leads and finding the correct area to rout and connect.
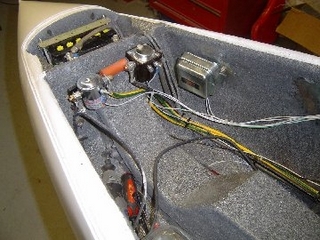
The clean-up makes it all worth wild. Turning those radios and switches ON and OFF watching everything come to life.
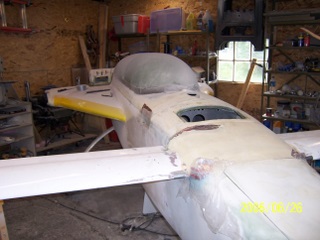
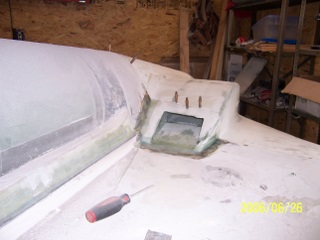
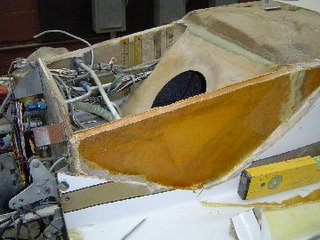
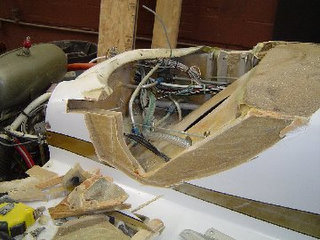
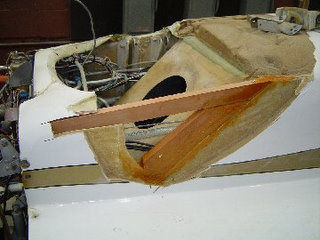
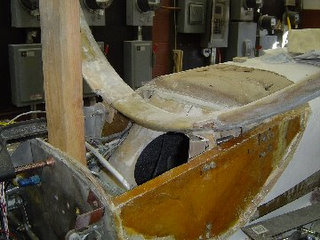
Well at some point you might need to fix or modify your existing cowl and replace those old landing gear attachments. fast forward just a bit I removed all the damaged areas including the wood installed foam and new wood glassed it up according to the glass schedule in the Rutan plans
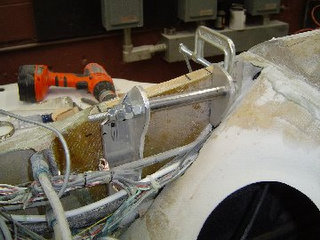
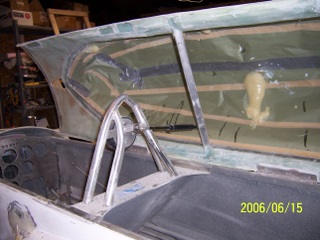
These are the new brackets. I made them using a set of plans but they didn't quite fit right, the dimensions on the plans were not exactly right. I was putting in a new Long EZ bow in my Veri Ez. If you do this just be careful and fit it together as you go it will work. and yes the plans were for a Veri EZ and a Long EZ. Ahhhhh yes a make sure things are measured and level.
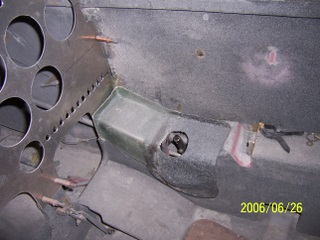
Rough fitting bracket. Oh boy this isn't going to be fun, take a deep breath and get to it.
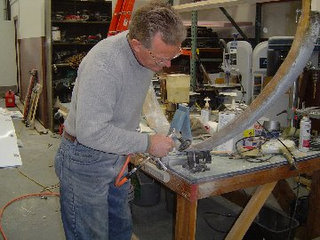
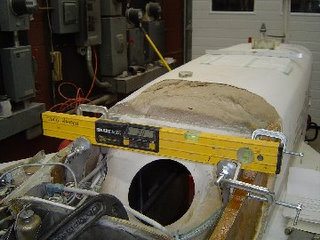
Use nice hard wood just like the plans call out. Prep the new gear leg, remove the old mounting tabs.
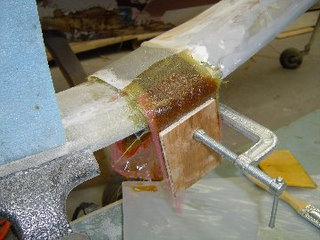
I am missing some pictures here for you but you begin at this tab install process by hot glueing tabs of plywood to the gear leg when it is in position the Rutan manual gives a full description of this process. I would recommend that you cut all of your cloth close to the right size and saturate it with resin I did this with a heat gun and about 4 layers at a time. you can see the outside layers are curing. Once they're cured, cut the bid for the inside glass tabs. I think there is about 74 layers of bid in each tab.

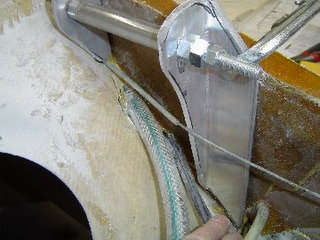
Can you see the plywood temporary tabs I used 5 min epoxy to temp glue them in place. It's more robust than a 2x4 was to measure the angle of the gear leg axels. My jig contraption was crude but worked very well. Use what you have available.
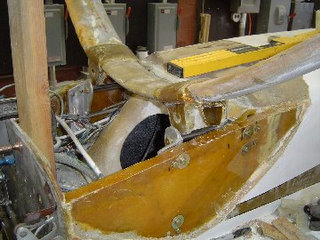
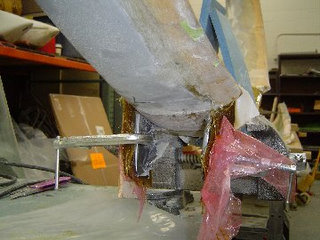
Ok then, all the glassing is done you can see the bolts and sleeves. I jigged everything up and drilled it in place. I suppose there are other ways but this worked. Once that is done you will need to glass in the steel bushings that the bolts run thru. Glass it using the glass schedule in the plans. that's about it. This takes about 3 days with all the lay ups. You now have a new set of gear ready to land on again.