
Return to Tips & Tricks PAINTING Page
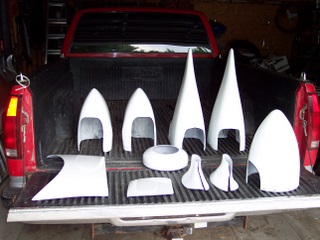
I've learned to always paint as many parts off the plane as possible. It just makes the finished product so much nicer. When I decided to repaint N6PC I had a few concerns. First, I couldn't decide if I should spray the plane or have it hired out. The decision was gut wrenching. I had gotten quotes from as low as 6 thousand to 20 thousand dollars. The price was just eating at me. So I thought about it a little deeper. Heck, I had painted a few cars in my day. When I was a teenager I painted my 1969 Dodge Charger Metallic Deep Blue with the Black bumble-bee stripe. In addition I'd painted two of my Plymouth Cuda's. Grant it, the paint I used was Lacquer back then, half a dozen coats with lots of wet sanding and rubbing in-between each coat. Not to mention it was almost 30 years ago.
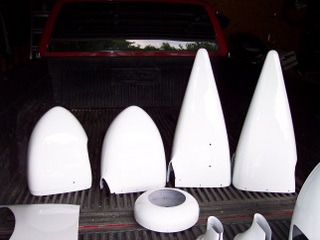
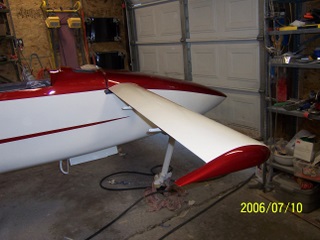
I decided to visit the local auto parts paint supply store and start asking questions. After an hour or two I felt confident on how to tackle the job. I purchased all the supplies and began completing all the finish sanding and paint prep to the plane. I ordered a 100 dollar spray gun and regulator off eBay, borrowed my dads 220v compressor and 100 ft of hose. After taping up the airplane and tack ragging her off I started laying down the viper white paint. It took a few moments to get the spray and flow down but after that it was like frosting a cake. When I was done with the white I taped it all off and added the 1969 Dodge Metallic Blue, a little Charger color from my first paint job, sentimental value.
I would advise any first time painter to practice on a cardboard box for the first few spray strokes, after that have at it. If you make a mistake you can wet sand it out and repaint it. Just keep making even spray passes with the gun and blend each pass with the last. I got so confident and good at it that I kept looking for more and more parts I could spray.
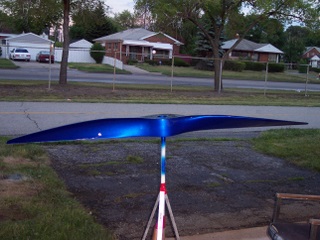
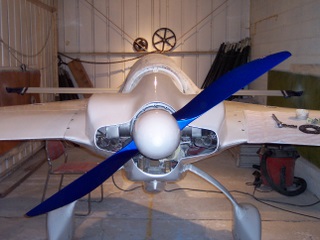
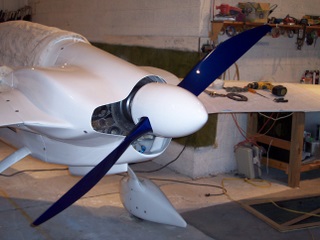
As you can tell I wanted to keep spraying paint so I painted my prop Charger Blue. Yes I was careful to keep the coats even and try to maintain a balance. I still had to have her balanced when I was done. It was out a few grams. The paint just laid out like glass on the parts. No runs or overspray, no orange peal, just a silky smooth mirror shine.
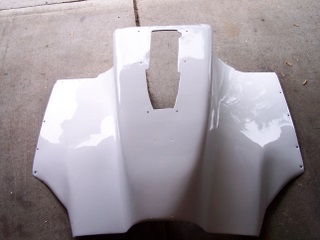
The cowlings were painted on a throw-away coffee table that I had found. It worked as a very nice platform to paint on. Like I said, the paint went on so nice I wish I had more parts to spray. The gun was 100 dollars and it even came with a smaller gun and regulator with 2 additional paint cups.
Everyone kept telling me I needed a 700 dollar spray gun and to at least hire a professional painter to come out to the hanger and shoot her. I asked a few painters at body shops what they would charge to spend a Saturday painting a plane. The second I mentioned airplane the eyes would get big and the price was just insane. I had one guy tell me 3 thousand dollars and all he would do is paint, no prep work or clean-up. I am so glad I did this myself.
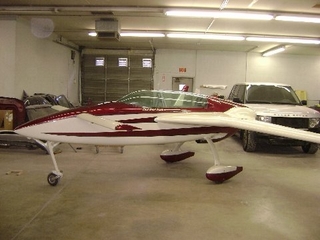
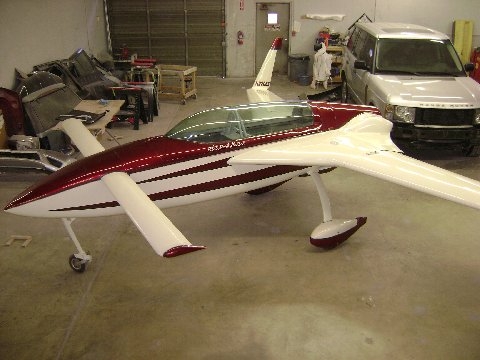
Well what do you think. Do you have it in you to pick-up a paint gun and start laying on the paint? I would have no problem doing this again. It was a fun easy job and if I need to do any glass work I can do the paint repair myself. There is one thing I learned from Dave Hanson, always use automotive paint and never ever use that old crap called Emron. That stuff is light-years behind the new automotive paints. Stick with single stage paints, no base coat clear coats. Well, its your call, I'm just telling you what worked for me and a few other guys that turned out excellent paint jobs with little to no experience. Don't be afraid to do it yourself!

This beautiful red paint job above was one of many Dave Hanson Finishes. He does incredible work. The lower Veri EZ belongs to Dave's brother Mark Hanson. He lives in Washington. Mark is also a talented painter!
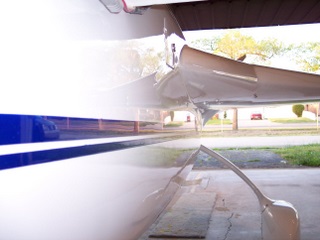
Mark Hanson's Veri-EZ P-51 inlet, extended nose and beautiful paint job.